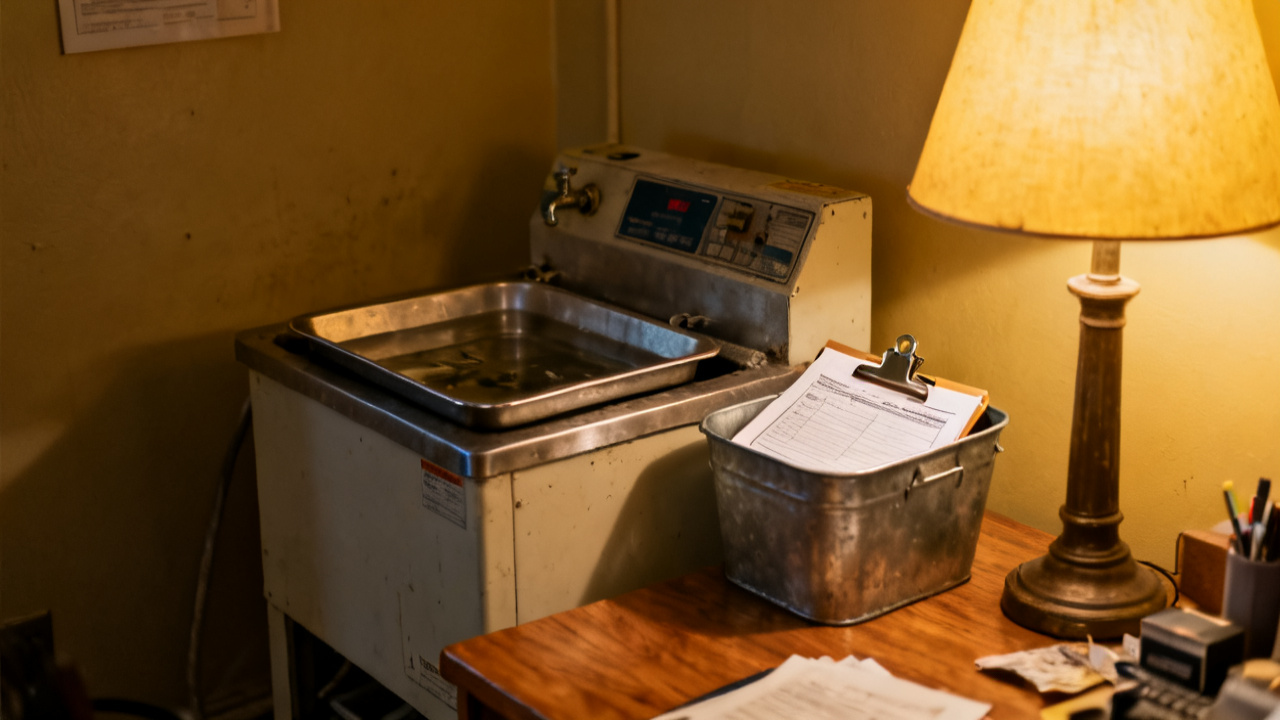
Your operation is signed. The packet is still on the vise. You wipe excess cutting fluid off the edge of the paper before you touch it, so no smudges blur the tolerance stamps that the QA tech added before you started the run. You don’t flip through the other pages yet, because you only handle the routing section that applies to your work cell until you confirm your tasks are fully logged. The 23 aluminum blanks you have left to machine sit in a labeled bin directly below the vise, so you don’t mix them up with the 17 finished parts stacked on the adjacent inspection rack.
Routing Sheet Placement Steps For Unfinished Runs
For breaks under 15 minutes, you tuck the sheet into the clear plastic sleeve mounted to the left of your machine control panel, oriented so the work order number faces out for quick line lead checks. You never tuck it under part bins or set it on the coolant sump lid, where spills or falling scrap can tear or obscure printed notes. If your break falls at the end of your shift and you will not finish the remaining 23 parts in your run before you clock out, you bring the full packet to the designated slot at the Traveler Desk, where the next shift lead will collect it for the technician assigned to complete the run. You never leave the traveler sitting out on an unstaffed bench overnight, because unaccounted for routing paperwork can delay order fulfillment and require QA to re-inspect all completed parts to confirm they meet spec. You also avoid folding or creasing the edges of the sheet, because it will be passed through six more work cells before the order is complete, and damaged edges can tear off and take critical notes with them.

Unmarked Page Annotations To Add Before You Step Away
You don’t leave the sheet blank if you have partially completed parts that need follow-up, because the next person working the order won’t know which cuts are finished and which still need to be run. You mark the edge of the routing section with a thin orange marker next to the operation number you were working on, and write the number of completed parts that passed your in-process caliper check in the margin next to the run count field. You never cross out pre-printed tolerance values or write notes over the QA signature blocks, because those fields are reserved for inspection staff only. If you encountered unexpected tool wear during your run that caused two scrap parts, you note that detail in the freeform comment field at the bottom of the page, so the next technician knows to swap the 3/8 inch end mill before starting their portion of the run. You also note that the stock for this order is slightly harder than the typical 6061 aluminum you work with, so feed rates should be set 10% lower than the standard recommendation to avoid additional tool breakage. You use only the approved orange and blue markers for annotations, so other staff can easily tell which notes come from machine operators and which come from QA or engineering teams.
Active Traveler Verification Checks You Run Now
Before you set the sheet aside, you run through a quick set of checks to confirm all required entries are accurate and no critical information is missing. These checks take less than two minutes, and prevent costly rework or order delays that happen when routing information is incomplete. You go line by line through the following checks, marking each off as you complete it:
| Check Item | Pass/Fail Mark | Notes Field |
|---|---|---|
| Work order number matches marked batch of parts on your bench | Reserved for operator initials | Confirm number matches laser etched code on the first and last part in your current batch |
| Number of completed in-spec parts is logged | Reserved for operator initials | Illustrative example: If you ran 17 of 40 required parts, you write 17 in this field before moving on |
| Any scrap parts are tagged and logged in the scrap tracking field | Reserved for operator initials | Attach the serialized scrap tag stub to the back of the traveler if you generated any scrap during your run |
| Required tooling change notes are added if applicable | Reserved for operator initials | Note any tool wear, breakage, or unusual performance that impacts future operations on this order |
Once you finish the checks, you double check that your initials are legible and all notes are written clearly enough that someone who has never worked on this order can understand what you are communicating. You don’t rely on verbal handoffs to communicate these details, even if you’re only stepping away for a 10 minute rest break, because line leads may reassign your run if a higher priority order comes in while you’re gone. If any of these checks fail, you correct the missing information before you move the traveler anywhere, to avoid confusion down the line.
Logged Document Hand Off Steps For Shift Changes
If you are handing off the partial run to another technician at the end of your shift, you walk through each of the notes you added to the traveler with the receiving technician before you leave for the day. You point out the orange mark next to your operation number, show them the count of completed parts, and walk them through any tool wear notes you added so they know exactly what to expect when they start the run. You have the receiving technician initial the comment field next to your notes to confirm they reviewed the details, so there is no confusion about what work is already completed. You never hand off the traveler without this verbal check, even if the receiving technician says they already know the order requirements, because small unwritten details like uneven stock hardness can lead to scrap if they aren’t communicated clearly. You also show the receiving technician the bin of remaining blanks and the stack of completed parts, so they can confirm the counts match what you logged on the traveler before they start working. If the receiving technician has questions about any of your notes, you walk through your process with them until they are confident they understand the requirements, rather than leaving them to guess or make assumptions that could lead to mistakes.
Pre-Operation Review You Complete When You Return To This Work Order
When you pick up this same traveler again, either after your break or at the start of your next shift, the first thing you do is cross reference the part count you logged before you left with the number of parts sitting on your machine bench, to confirm no parts were moved or reworked while you were gone. You check the comment field for any new notes added by line leads or QA staff while you were away, in case there are updated tolerance requirements or priority changes that apply to the rest of the run. You run a quick test cut on a scrap piece of the same stock you’re using for the order, and measure it against the printed tolerances on the traveler, to confirm your machine is still calibrated correctly and no one adjusted the settings while you were stepped away. Once you confirm all details match your notes and the traveler information is up to date, you sign the operation section again next to the note indicating you resumed the run, and begin work on the remaining parts. If you notice any discrepancies, like missing parts or notes you didn’t add, you flag the traveler with a pink QA slip and bring it to your line lead before you start any additional cuts, so you don’t accidentally work on an order that was modified while you were gone. You never skip this review step, even if you were only gone for 10 minutes, because small adjustments to machine settings or order requirements can happen quickly when the shop floor is running at full capacity, and catching those changes early prevents costly rework later.