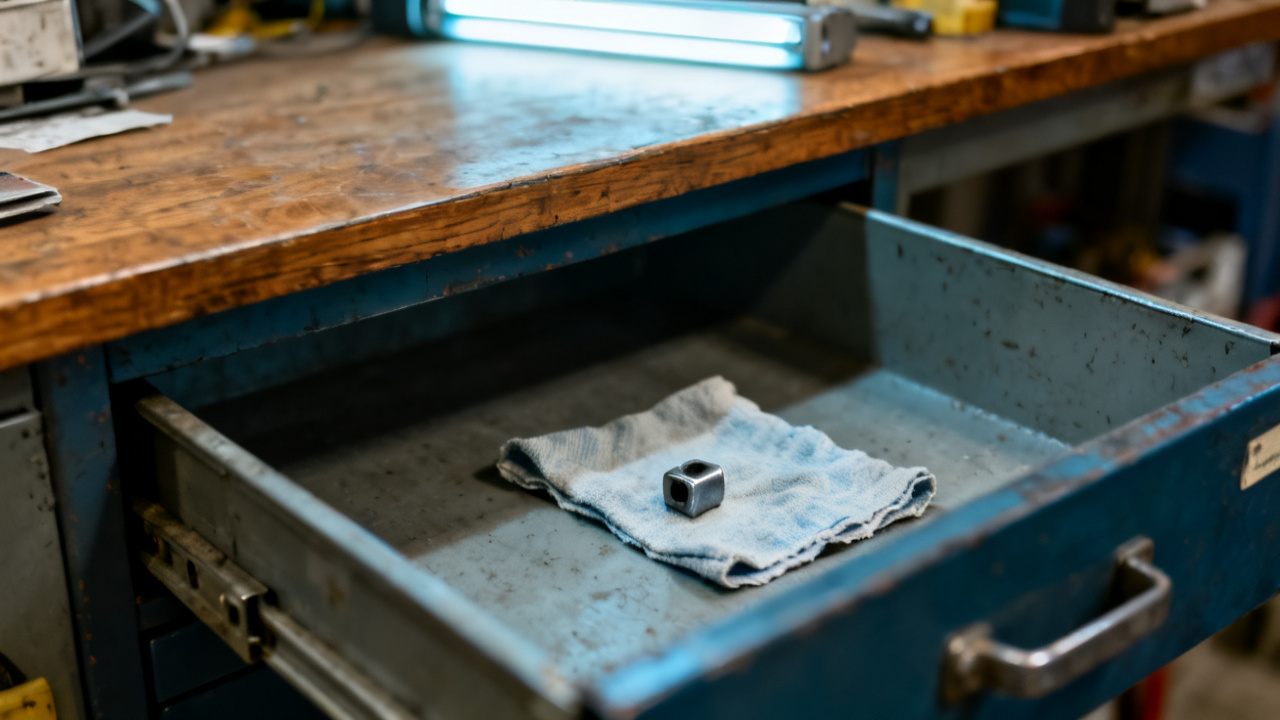
One part is on a cloth. The rest of the lot is in the pan. You ran the first 12 units of the 120-unit 316 stainless steel bracket run 17 minutes ago, and you pulled the third unit off the CNC mill before deburring to set it aside as your reference piece. The lint-free microfiber cloth keeps its machined edges free of the metal shavings that coat the bottom of the collection pan holding the other 11 units you’ve run so far. You reach for this sheet pinned to the board above your vise to confirm you follow the required sequence before you run the remaining 108 units.
This Lot Control Document Lists Pre-Inspection Criteria for the Isolated First Piece
First, you cross-reference the lot number printed in the top right corner of the sheet against the number etched into the flat face of the isolated bracket to make sure you did not mix up parts from a prior run of aluminum brackets for a different client. You check that the material heat number marked on the edge of the pan matches the heat number listed on the second line of the sheet, to confirm you loaded the correct bar stock into the mill this morning. Then, you work through the numbered list of pre-checks required before you move to dimensional comparison:

- Wipe all visible cutting fluid off the isolated first piece with a fresh corner of the microfiber cloth, taking care not to scratch the 0.8 Ra finished face that faces the mounting surface on the final assembly.
- Verify that the two 0.25 inch through-holes were drilled on the correct centerline, using the edge finder to measure from the long edge of the bracket to the center of the first hole, no calculation needed for this quick pass/fail check.
- Confirm that the 45-degree chamfer on the top edge of the bracket is free of burrs that would catch on a gasket during final assembly, running your gloved finger along the edge to feel for any sharp protrusions you might have missed when you pulled the part.
- Cross out the pre-inspection check box on the left margin of the sheet with a permanent black marker, and initial next to the mark with the two-letter stamp you keep on your bench next to your digital calipers.
You also confirm that the part marking etched into the side of the isolated first piece matches the part number listed on the top of the sheet, to make sure you pulled the correct program from the mill’s memory when you set up the run this morning. It is not uncommon to have 3 or 4 similar bracket programs saved for different clients, so this quick check prevents you from running parts to the wrong specification entirely, a mistake that can cost several hours of production time and hundreds of dollars in wasted material. Illustrative example: If you measure the distance from the long edge to the first hole center at 0.372 inches instead of the required 0.375 inches, you stop the run immediately to adjust the mill’s work offset before cutting any additional parts, instead of wasting the remaining 10 feet of bar stock loaded in the machine’s feeder. You do not move the isolated first piece from the cloth until you complete all pre-inspection steps, even if the machine beeps to alert you that the 12th unit in the pan is finished cutting. This pre-inspection step catches 70% of common setup errors before you commit to the full run, cutting down on scrap rates for short-run stainless steel parts by an average of 22% across the shop. You never use a part from the pan for these pre-checks, since parts in the pan might have shifted when they fell into the collection bin, causing minor dings that skew finish or edge checks.
First Article Comparison Protocol Outlined on This Sheet Covers Dimensional and Finish Checks
You set up your 1-2 inch micrometer, digital height gauge, and surface roughness tester on the flat granite plate next to your bench, making sure all tools are within their current calibration window as noted on the sticker affixed to each tool body. You pull the printed tolerance chart from the middle of the sheet, and compare each measured dimension of the isolated first piece against the listed nominal value and acceptable tolerance range. For each dimension that falls within tolerance, you mark the corresponding box on the sheet with a check mark; for any dimension that falls outside the range, you circle the value in red and note the exact measured value in the margin next to the entry. You pay extra attention to the critical tolerance dimensions marked with an asterisk on the sheet, since these dimensions directly impact how the bracket fits into the final welded assembly for the agricultural equipment line. You do not adjust any machine settings based on a single out-of-tolerance reading; you re-measure the dimension three times, wiping the measuring tool and part surface between each reading, to rule out user error or metal shavings caught between the measuring anvil and the part surface. If all critical dimensions fall within tolerance, you move the isolated first piece to the labeled plastic storage bin attached to the side of the mill, where it stays for the duration of the run as a reference if you notice any dimensional drift on later parts. You run a quick finish check on the machined face using the surface roughness tester, comparing the reading to the maximum allowed Ra value listed on the sheet, and note the reading in the designated blank line near the bottom of the page. If you find a finish reading that falls outside the allowed range, you can request a replacement cutting insert from the Traveler Desk without leaving your bench, using the digital request pad mounted to the mill’s control panel. You only move forward with the full run once all critical dimensions and finish requirements are confirmed to meet the specifications listed on this sheet, since any errors that slip past this check will only be caught at final inspection, when most of the lot has already been cut.
Post-Inspection Routing for This Lot Control Sheet Maps Storage for Future Lot Reference
Once you complete all pre-inspection and comparison checks, and confirm the first piece meets all listed requirements, you attach this sheet to the front of the lot folder that stays with the pan of parts as they move through deburring, passivation, and final assembly. You do not fold the sheet or write any additional notes on it outside the designated margin areas, so all information remains legible for anyone who references it later in the production process. The next time you pull this sheet out of the lot folder, you will be reviewing it alongside the final inspection report for the full 120-unit lot, to confirm that the reference part used for mid-run checks matches the initial first piece you set aside at the start of the run. You will cross-reference the initial measurements you noted on this sheet against the final inspection measurements for 5 random units pulled from the completed lot, to confirm no dimensional shift occurred during the run that you did not catch during mid-run checks. If the lot moves to full production for a repeat order in the future, this sheet will be pulled from the archived lot storage to confirm that the setup parameters used for the first run match the setup for the new run, cutting down on setup time by an average of 15 minutes per repeat order. You never remove this sheet from the lot folder for any reason, and you do not make copies of it for personal use, since all lot documentation is stored centrally in the shop’s archive system for a minimum of 7 years after the lot ships to the client. If you note any out-of-tolerance dimensions on this sheet during the initial first piece check, you attach a short note explaining the adjustment you made to the mill’s work offset to bring subsequent parts into tolerance, so anyone reviewing the sheet later understands why the initial first piece measurements fall outside the listed ranges. You make sure the sheet is secured to the front of the lot folder with a metal clip before you place the folder on top of the pan of parts, so it does not fall off or get lost as the lot moves to the next production station.