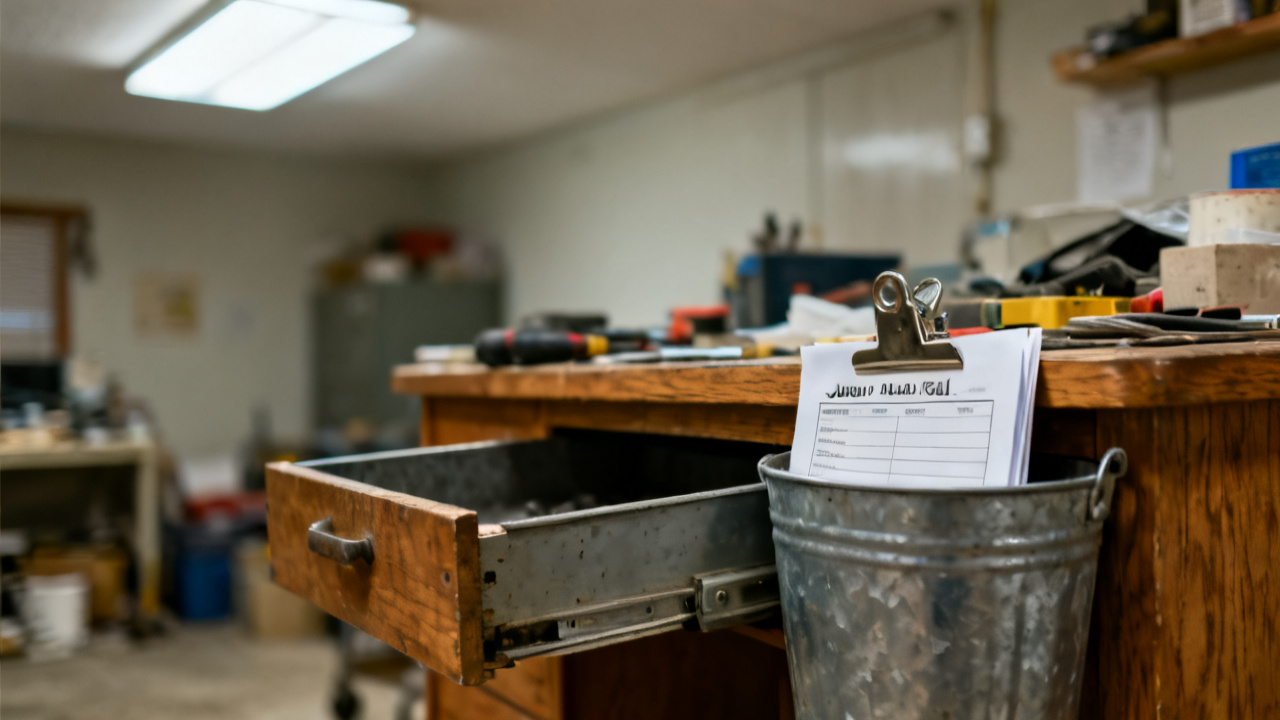
The box is stamped complete. The parts have not seen this machine. You pull the crumpled sheet from the edge of the bin where the last shift tucked it, and you spot the missing process step tucked between two signoff lines no one bothered to cross-reference. The lot number matches the work order taped to your spindle guard, so you don’t set the sheet aside to deal with later.
Cross-Reference Lines for This Run Sheet
You start by matching the part number printed at the top left of the sheet to the engraving on the side of each raw blank in the bin, not just the pre-printed label on the bin itself. The stamp on the box was applied in error when the lot was moved from the deburr station, so the deburr step is fully complete but the facing operation you’re assigned has not been run at all. You cross-check the material spec line against the test tag tied to the first blank to confirm you’re running 6061 aluminum, not the harder 7075 alloy slotted for the lot staged two bays over. You don’t rely solely on the half-scrawled shift handoff note taped to the bin, since the last operator left halfway through their shift due to a family emergency and didn’t finish updating all lot details before they left.

Step Sequence to Follow on This Job Documentation
You stick strictly to the sequence laid out on the form, skipping no steps even if you run this facing operation 10 times a week for similar parts. The required steps are:
- Clamp the first blank in the 3-jaw chuck with 0.25 inches of protrusion above the jaw face, tightening to 15 ft-lbs of torque with your calibrated wrench to avoid part slippage during cuts.
- Load the diamond-tipped facing tool to turret position 4, running the tool offset check against the hardened reference pin mounted to the left of the spindle before running any active cuts on parts.
- Run the first rough pass at 0.01 inch depth of cut, 320 SFM, and 0.004 inch per revolution feed rate to take the top surface down to the rough height marked on the lower left of the form.
- Pause the machine after the first rough pass to measure the surface flatness with your digital dial indicator, confirming it falls within the 0.0005 inch total indicator runout allowed for this part line.
- Run the final finishing pass at 0.003 inch depth of cut, 480 SFM, and 0.002 inch per revolution feed rate to hit the final height listed on the form.
Illustrative example: if the final height marked on the form is 2.178 inches, you adjust the turret offset by half the difference between your measured rough height and the target finish height before running the final pass, to eliminate the risk of overcutting the part and scrapping it unnecessarily. You run this exact sequence for every part in the lot, even the last few when you’re rushing to wrap up before your shift ends, to keep part quality consistent across the entire run.
Tolerance Checks Logged on This Work Form
You don’t scribble measurements in the margins or jot them on a scrap of paper to transfer later; you fill in each dedicated field for the first, 10th, and 50th parts of the 120-piece lot as you complete the checks. You note any out-of-tolerance readings immediately, even if they’re only 0.0002 inches over the allowed limit, so the quality team can trace the issue to tool wear or spindle drift before it affects more parts in the run. You take three flatness readings per checked part, across the center, left edge, and right edge of the faced surface, and log the highest reading in the appropriate column so there’s no ambiguity about conformance for anyone reviewing the form later. You only use the calibrated digital indicator you checked against the shop’s reference standard at the start of your shift, so you don’t have to correct for measurement error or recheck all your readings at the end of the run.
Signoff Protocols for This Process Document
You only sign the line dedicated to the facing operation after you’ve completed all 120 parts and logged all required tolerance checks, not when you first load the first part into the chuck. You date and time stamp the signoff line with the shop’s digital stamper, so anyone reviewing the form later knows exactly when the operation was completed, down to the minute. You add your employee ID number next to your signature, so if there are questions about the run later, the team knows exactly who to come talk to for context. You don’t sign for any operation you didn’t personally perform, even if a coworker asks you to cover their signoff because they left early, since that creates dangerous gaps in the lot traceability chain. If you need a replacement stamp for a smudged entry, you request one from the Traveler Desk instead of crossing out the entry and writing over it, to keep the form legible for all downstream teams that will handle the lot later.
Deviation Notes Tied to This Lot Record
You log any unexpected issues that come up during the run in the dedicated deviation section of the form, not just in your personal shift notebook that stays in your toolbox. For example, if you have to replace the facing tool after 62 parts because the cutting edge chipped when you ran into a small embedded inclusion in the aluminum, you note the tool serial number, the part number where the tool failed, and the measurement readings of the 5 parts run right before the tool change to prove no out-of-tolerance parts made it through the run. You also note if you had to adjust the spindle offset by 0.0003 inches halfway through the run to compensate for slight thermal expansion of the spindle on the warm shop floor, so the next operator running a similar lot knows to watch for that same drift on hot summer days. You don’t leave out small deviations just because they didn’t result in scrapped parts, since that information helps the maintenance team schedule spindle calibrations before major issues arise that could affect dozens of lots.
Next Shift You Pull This Exact Page
When you come back to run the milling step for this lot next week, or if you’re covering the inspection station on a different shift and pull this sheet to verify a part measurement, you first cross-check all signoff lines again to make sure no extra steps were added to the form in the interim. You read through all deviation notes first before starting any new work on the lot, so you’re aware of any tool wear or spindle drift issues that might affect your operation’s tolerance requirements. You double-check the part count logged on the sheet against the number of parts in the bin, to make sure no parts were lost or misplaced between operations as the lot moves through the shop. You don’t assume all the listed steps are complete just because the outer box was stamped once before, since you already know that initial stamp was applied in error before the lot ever reached your station. You follow the same cross-check steps you used today, even if you’re only pulling the form to confirm a single measurement, to keep the lot traceability chain intact for every stage of production.