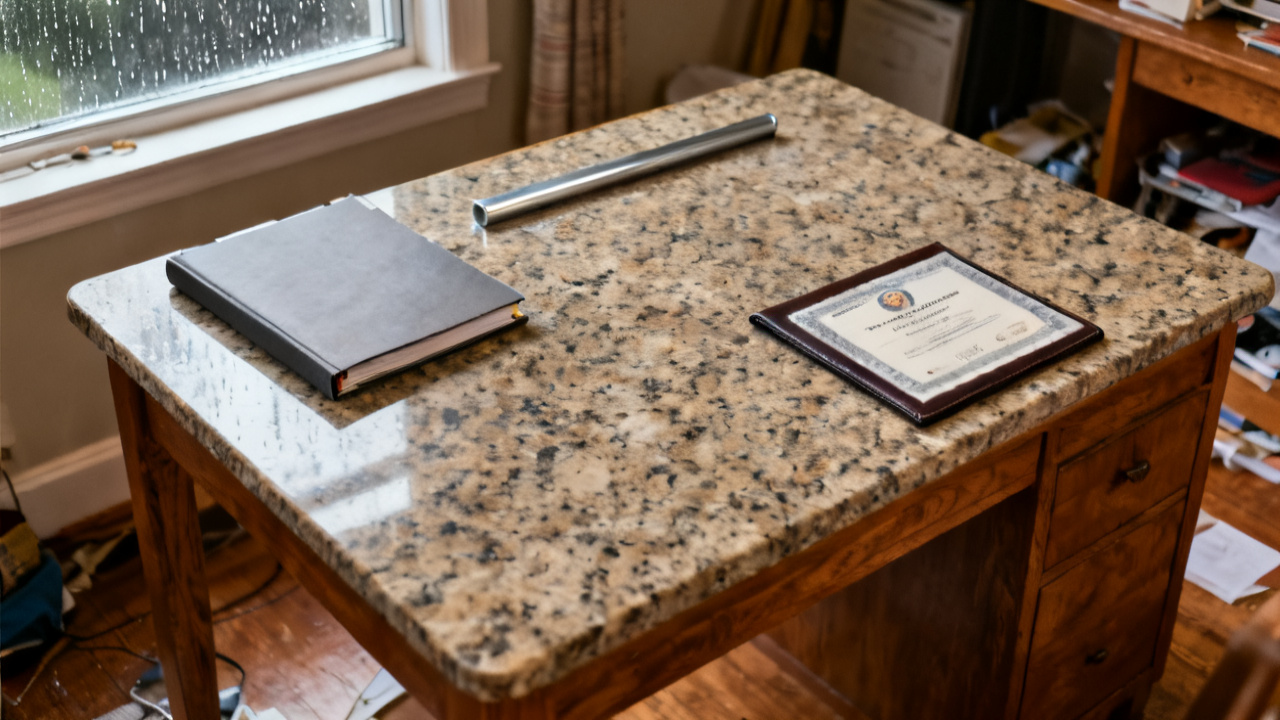
A trace code is on the cert. The traveler’s trace line is blank. You set the half-finished first piece of 6061 aluminum on the rubber mat next to your calipers, and flip the unfiled cert over to scan the alphanumeric string printed in the lower left corner, right below the mill heat number. The shop’s standard workflow requires you log that code before you run the next 11 pieces on the CNC, and you don’t want to hold up the deburr station downstream by leaving the entry incomplete for the shift lead to chase down later. You also avoid leaving the field blank because incomplete trace data can hold up final shipment of the order if the QC team can’t match parts to their material certs during final batch review.
This Traveler’s Trace Field Entry Requirements
You do not copy the entire cert to attach to the traveler at this stage, per ISO 9001 guidelines for controlled document retention, so you only pull the specific data points required for the trace field to avoid cluttering the sheet with redundant information. The trace field sits three lines below the part number field, directly to the right of the heat number entry you filled out when you first picked up the stock this morning. You only enter the last 6 characters of the trace code in this field, as the first 12 characters are tied to the alloy and mill batch already logged in the shop’s enterprise resource planning system under the part number you are running today. Illustrative example: The full trace code on your current cert is 617-T4-2024-09-11-0037, so you enter 110037 in the traveler’s trace field to meet the length requirement for automated scan validation later. You write the code clearly in black permanent marker, so the text is legible even if the sheet gets smudged with cutting fluid or shop dust during the production run.

Cross-Reference This Cert’s Matching Data Points
Before you finalize the trace code entry on the traveler, you complete these validation steps to ensure no data mismatches slow down production later:
- Confirm the alloy grade printed on the cert matches the grade stamped on the end of the remaining stock bar sitting next to your CNC chuck, to eliminate the chance you pulled a cert for the wrong batch of material when you checked out stock this morning.
- Match the purchase order number listed in the top right corner of the cert to the purchase order number printed in the header of the traveler, to ensure the trace code ties to the correct customer order and no cross-contamination of batch data occurs.
- Check that the cert’s production date falls within the 24-month window allowed for 6061 aluminum used in outdoor structural parts, as material older than that requires additional tensile testing before you can run production parts.
- Circle the trace code on the cert in blue permanent marker, so the quality control team can quickly locate the entry when they perform final batch review before parts ship.
- Initial the bottom left corner of the cert next to the circled trace code, to document that you performed the cross-reference check before moving forward with production.
If any of these cross-reference checks fail, you flag the issue with the shift lead immediately, rather than entering the trace code, to resolve any mismatches before you cut additional material. You can drop the marked cert and partial traveler at the Traveler Desk near the time clock if you need to step away for a break before finalizing the entry, but only after you note the code in the margin in pencil so you don’t have to look it up again when you return.
Mark This First Piece’s Edge With the Shortened Trace Suffix
Once you confirm the trace code matches all required data points, you use a carbide engraving tool to etch the same 6-character suffix you entered in the traveler’s trace field onto the unpolished edge of the first piece you set aside earlier. You do not etch the code on the face of the part that will be visible in the final assembly, to avoid requiring additional polishing work that adds unnecessary time to the production cycle. You hold the part up to the task light to make sure the engraving is deep enough to remain legible through the powder coating process that happens after deburr, and run a finger over the etched characters to confirm no burrs are raised around the edges that would require extra finishing work. You set the marked first piece in the labeled QC holding bin next to your machine, so the quality technician can pull it for dimensional check while you run the remaining 11 parts in the batch. If the technician flags any dimensional issues with the first piece, you adjust your CNC offsets before running the rest of the stock, and the trace code on the part will tie any adjustments directly to the material batch for future reference if similar issues arise with the same alloy lot. You also note the results of the first piece dimensional check in the margin of the traveler, directly below the trace code entry, to tie the validation data to the batch trace information in one place.
When You Pull This Sheet For Second Shift Run Approval
The second shift lead will pull this traveler from the bin on your machine when they arrive to take over the run if you do not finish all 12 parts before the end of your shift, and they will reference the trace code you entered to confirm they are running the correct material batch for the order. They will cross-check the code you entered against the marked cert attached to the back of the traveler before they start running parts, to ensure no changes were made to the material or order while the machine was idle between shifts. If you did not finish entering the trace code before the end of your shift, the lead will use the pencil note you left in the margin to fill in the field, and they will add their initials next to the entry to document they completed the cross-reference check before resuming production. You will sign off on the full traveler when you return to your shift the next day, once all parts are run and moved to the deburr station, to confirm all trace data matches across the cert, the traveler, and the engraved markings on every part in the batch. If any mismatches are found during final QC, the trace code will let the team track the part back to the exact mill batch, production run, and operator who ran the parts, to resolve any issues quickly without scrapping entire batches of material unnecessarily. You will also use the trace code to look up material properties if you run into unexpected tool wear during the run, to adjust your feed and speed settings for the specific alloy batch you are working with, reducing scrap and cutting down on production time for future runs with the same material lot.