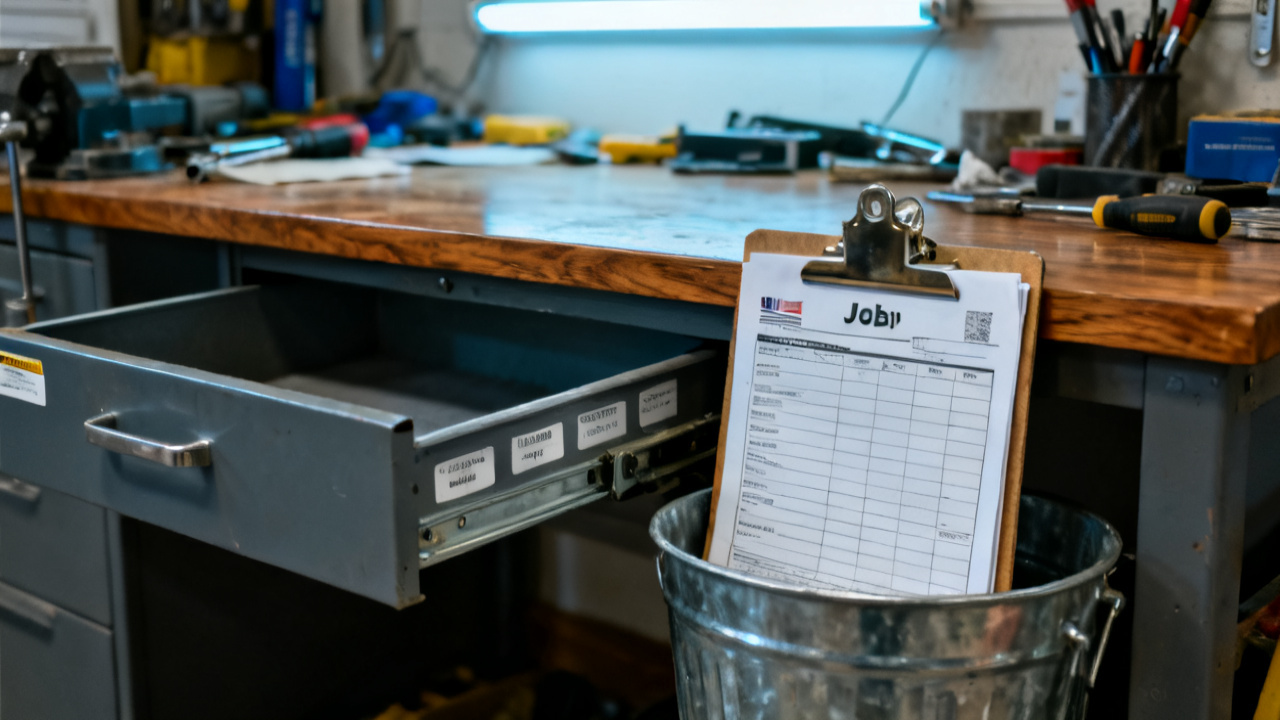
A step says stop for inspection. You have not stopped. Your calipers hang half-out of their holster at your left hip, and the partially machined 316 stainless mounting bracket rests in the vise, still spattered with water-based coolant. You spotted the bold red all-caps block under the last machining step as you reached for the spindle power toggle, and you freeze mid-move, no part of the cut started yet. You set down the end mill you were about to load into the spindle and pull the traveler from the clip mounted to the machine control panel, spreading it flat on the adjacent work surface to read the fine print below the stop notice.
Traveler Line Item Cross-Check For First Piece Validation
You start with a line-by-line cross-check of the traveler’s current section to ensure you have not misread the stop placement, and work through a standard sequence to confirm your next steps:
- Confirm the part number printed at the top of the traveler matches the part number etched into the raw blank you loaded into the vise 10 minutes prior.
- Verify that the red inspection stop line falls immediately after the 3-axis contouring step you are about to run, not after the earlier facing and drilling steps you already completed.
- Cross-reference the listed inspection points against the digital model you pulled up on the bench tablet to ensure no required measurement is omitted.
- Note the required inspector signature line directly below the stop block, so you do not proceed with any further machining until that signature is present.
- Add a small pencil tick in the margin next to the stop line to confirm you have acknowledged it before you call the inspector over.
This cross-check takes less than two minutes, and it eliminates the risk of running a cut that pushes the part past a mandatory inspection point before dimensional verification. Illustrative example: The listed runout tolerance for the bracket’s central bore is 0.0027 inch, a tight spec specific to this low-volume aerospace run, so you set that out as the first measurement the inspector will run to cut down on wait time. You set your bore gauge to that tolerance range and leave it on the bench next to the part, along with the depth gauge needed to measure the counterbore depth for the mounting fasteners. You double-check that the traveler has no handwritten changes or addenda that alter the inspection requirements, and you leave it spread flat on the bench so the inspector can reference it immediately when they arrive.
Cert Match Confirmation Before Machining Resumes
While you wait for the inspector to arrive from the quality lab, you pull the material cert that is clipped to the back of the traveler and lay it flat next to the front page of the document. You cross-reference the heat number printed on the cert with the heat number stamped into the un-machined corner of the blank, running your finger over both sets of digits to ensure there are no transposed numbers or misread characters. You confirm the alloy designation matches the 316 stainless listed on the traveler’s first line, and that the batch number aligns with the order notes you reviewed when you first picked up the job. You logged the cert’s serial number when you picked up the job from Traveler Desk earlier that morning, so you just cross-check that handwritten log entry against the printed number to eliminate transposition errors. You do not use the cert to confirm material hardness, keeping a portable hardness tester on the bench if the inspector requests a spot check as part of their review. You also make sure the cert has no missing sections or smudged print that would obscure critical batch details, and you clip it back to the back of the traveler once your review is complete. You pull a small notepad from your pocket and jot down the tolerance ranges for all required inspection points to reference as you run subsequent parts, so you can catch obvious deviations before parts move to formal inspection.
First Piece Inspection Marking To Lock In Run Parameters
When the inspector arrives, they run through the listed measurement points in order, starting with the central bore runout you prepped the gauge for, then moving to the counterbore depth, the flatness of the mounting face, and the position of the four outer mounting holes. Once they finish their measurements, they sign and date the signature line below the inspection stop block, and jot a small note in the margin confirming all measured dimensions fall within the listed tolerance ranges. You then mark the first piece with a permanent paint marker, etching the run number and inspection date into the un-machined edge of the bracket before setting it aside in the labeled first piece bin at the end of the bench. This first piece acts as your reference for all subsequent parts in the 42-unit run, so if you adjust the spindle speed or feed rate halfway through the run to reduce tool chatter, you compare the next part off the machine against the verified first piece to ensure no deviation from spec. You also jot a small note in the margin of the traveler next to the inspector’s signature noting the 12,000 RPM spindle speed and 15 inch per minute feed rate you used for the contouring step, so anyone picking up the job later has full context for the parameters that produced a verified in-spec part. You then load the end mill into the spindle, close the machine door, and start the contouring cut for the first piece, monitoring the first 30 seconds of the cut to ensure no tool deflection or unusual vibration before you move to prep the next raw blank.
When You Retrieve This Same Traveler Sheet After Full Run Completion
This is the next time you handle this traveler, after you have run all 42 parts in the run, deburred each one, and set aside any parts that fall outside tolerance ranges for scrap. You spread the traveler flat on the bench again, and first cross-check the total number of in-spec parts against the order quantity listed on the traveler’s first page, noting the number of scrap parts in the designated margin line along with the reason for each rejection, whether that’s tool breakage mid-cut, material porosity, or accidental damage during deburring. You confirm every required inspection stop on the traveler has a corresponding signature from the quality team, and that the note you jotted about run parameters is still legible in the margin next to the first inspection stop. You pull the first piece from its bin and compare its markings to the run number on the traveler to ensure you have matched the correct reference part to the right job document, and you clip the first piece’s individual measurement report to the back of the traveler next to the material cert. You double-check that all margin notes are written in pencil, so any corrections can be made easily without crossing out text or leaving illegible marks on the document, and you add your own signature and date to the completion line at the bottom of the traveler’s final page to confirm you have completed all machining steps as listed. You then clip the full package of traveler, material cert, and first piece inspection report together, and set it in the designated quality review bin by the shop entrance for the next phase of processing. You return the reference first piece to its labeled bin for storage for the full warranty period of the parts, and clear your bench to prepare for the next job on your schedule.
Word count: 1382